Setting up Automated Deployments with ArgoCD
Author: Gourav Shah
Publisher: School of Devops
Version : v2024.06.02.01
Project:: Setup Automated Deployment to Staging and Prod with Argo CD.
Setup ArgoCD
Install ArgoCD
kubectl create namespace argocd

kubectl apply -n argocd -f https://raw.githubusercontent.com/argoproj/argo-cd/stable/manifests/install.yaml
Reset admin password to password
# bcrypt(password)=$2a$10$rRyBsGSHK6.uc8fntPwVIuLVHgsAhAX7TcdrqW/RADU0uh7CaChLa
kubectl -n argocd patch secret argocd-secret \
  -p '{"stringData": {
    "admin.password": "$2a$10$rRyBsGSHK6.uc8fntPwVIuLVHgsAhAX7TcdrqW/RADU0uh7CaChLa",
    "admin.passwordMtime": "'$(date +%FT%T%Z)'"
  }}'
Source: reset-argo-password.sh Reference: argo-cd/faq.md at master · argoproj/argo-cd · GitHub
kubectl get all -n argocd
kubectl patch svc argocd-server -n argocd --patch \
  '{"spec": { "type": "NodePort", "ports": [ { "nodePort": 32100, "port": 443, "protocol": "TCP", "targetPort": 8080 } ] } }'
source: patch_argo_svc.sh
kubectl get svc -n argocd
Find out the IP address for one of the nodes. One way to do so is to run the following command,
kubectl get nodes -o wide
Note IP address for one of the nodes and browse to https://NODEIP:32100
where, replace NODEIP with the actual.
You should be presented with the login page for ArgoCD as follows

- username =.
admin - password =
password
Configuring Repository and Project
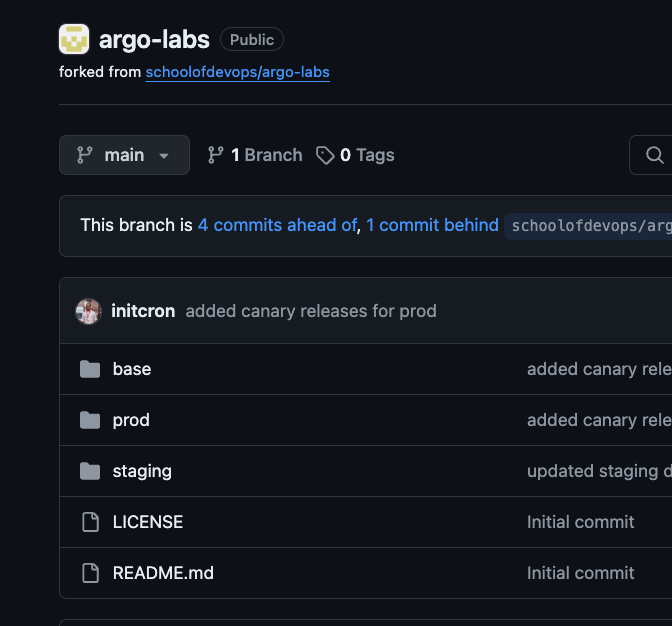
Ensure that you have checked in all the code from earlier labs and pushed it to your repository.
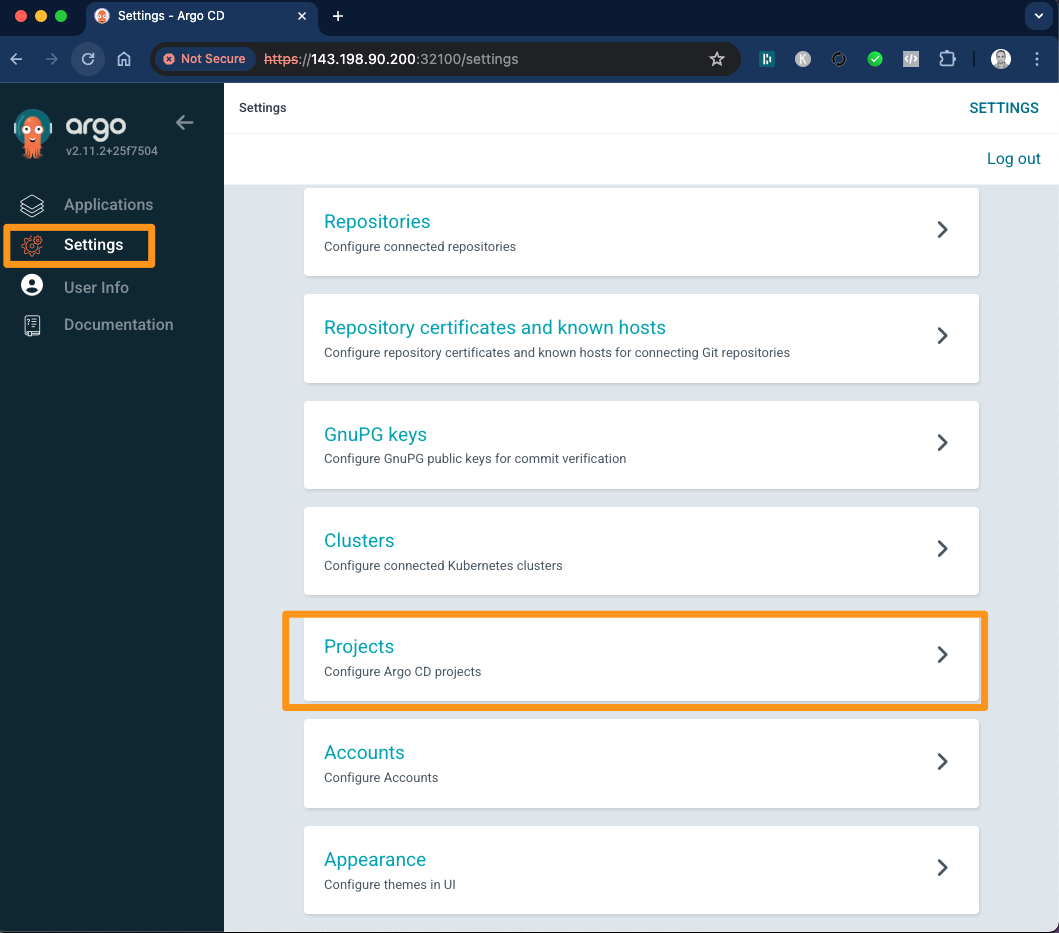
Once logged in to ArgoCD, select settings from left menu and browse to Projects
Click on New Project -> Create and provide Project Name and Description as
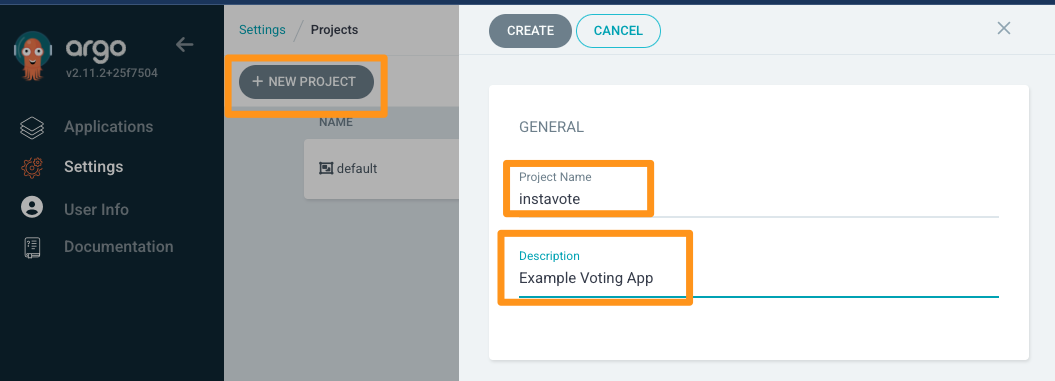
Proceed to create the project.
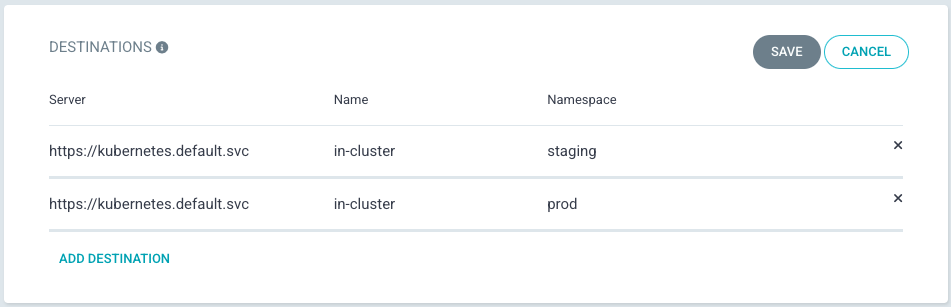
From Project Configuration page that you are redirected to, edit DESTINATIONS
- Select default cluster name from dropdown
- Select
in-clusteras Name - Add two entries, one for
stagingand another forprodNamespace - Save
From settings from left menu and browse to Repositories
Select Connet Repo and provide the following configuration
- Via: HTTPS
- Type: git
- Project: instavote
- Repository URL: https://github.com/xxxx/argo-labs.git (replace with actual)
- Username: GitHub Username (If Private Repo)
- Password: GitHub Password or Token (If Private Repo)
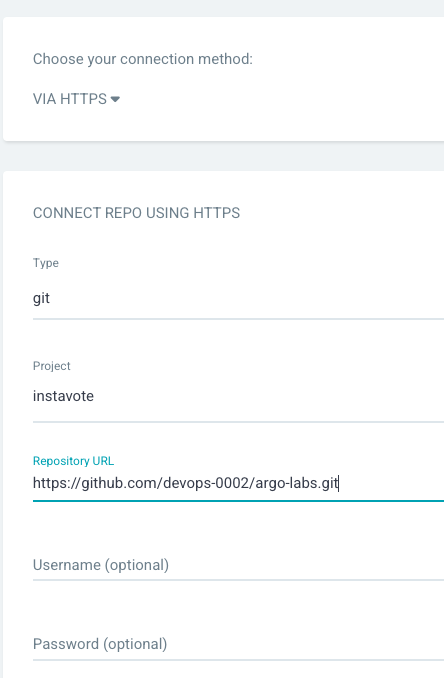
Finally click on Connect to add the repo.
Setup Staging and Prod Deployments with ArgoCD
Clean up resources in the namespaces for staging and prod environments if you haven't already,
cd argo-labs
kubectl delete -k staging/ -n staging
kubectl delete -k prod/ -n prod
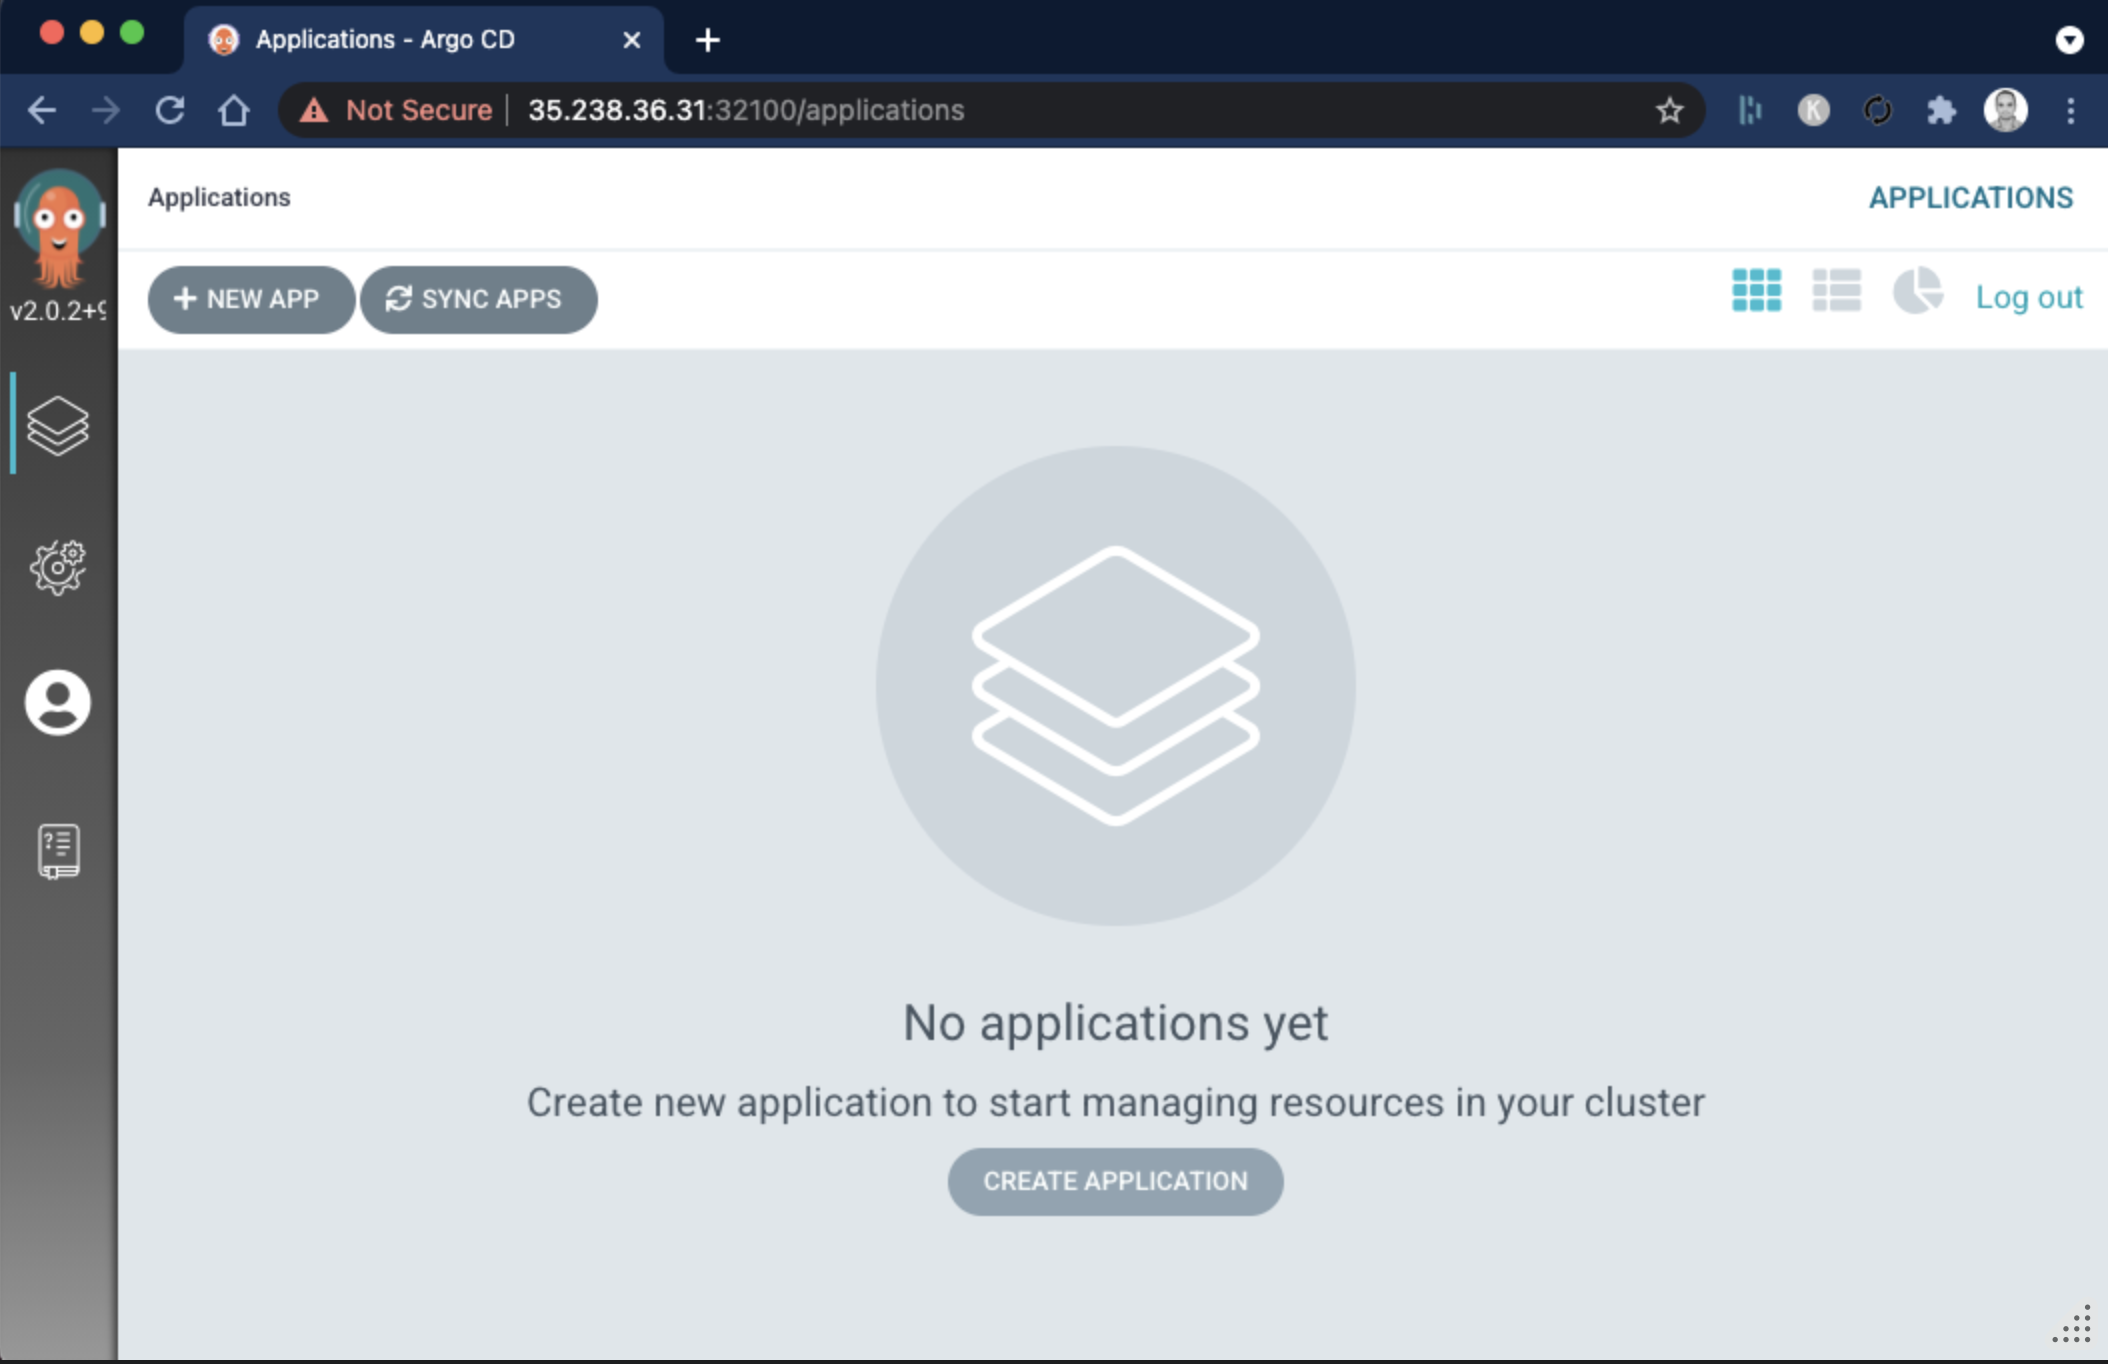
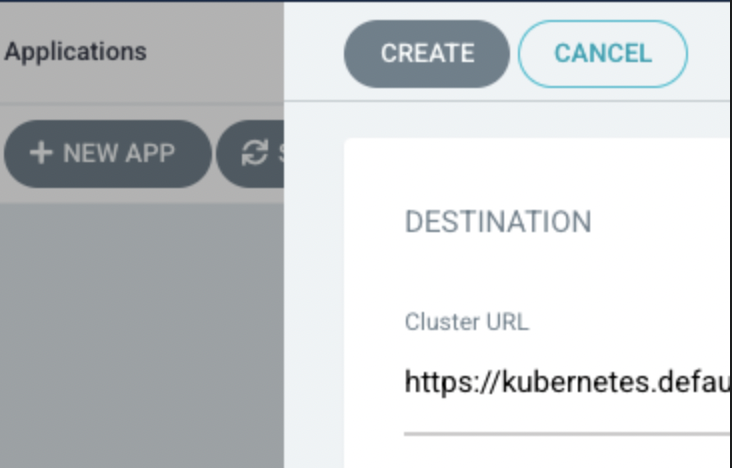
Browse to ArgoCD web console and click on Create Application
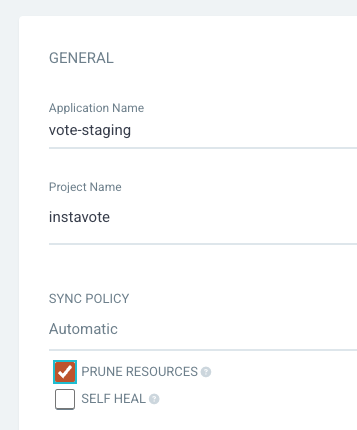
From General ,
- Application Name :
vote-staging - Project :
instavote - Sync Policy :
Automatic - Prune Resources: Checked
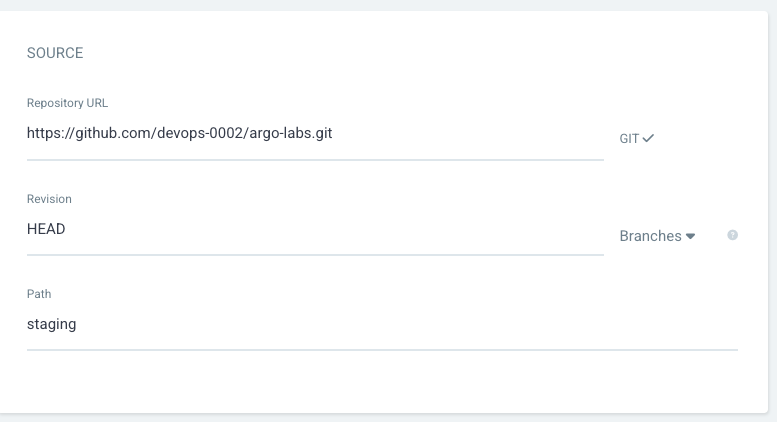
From Source,
- Repository URL :
Your Repo URL (https) - Revision :
main/HEAD - Path :
staging
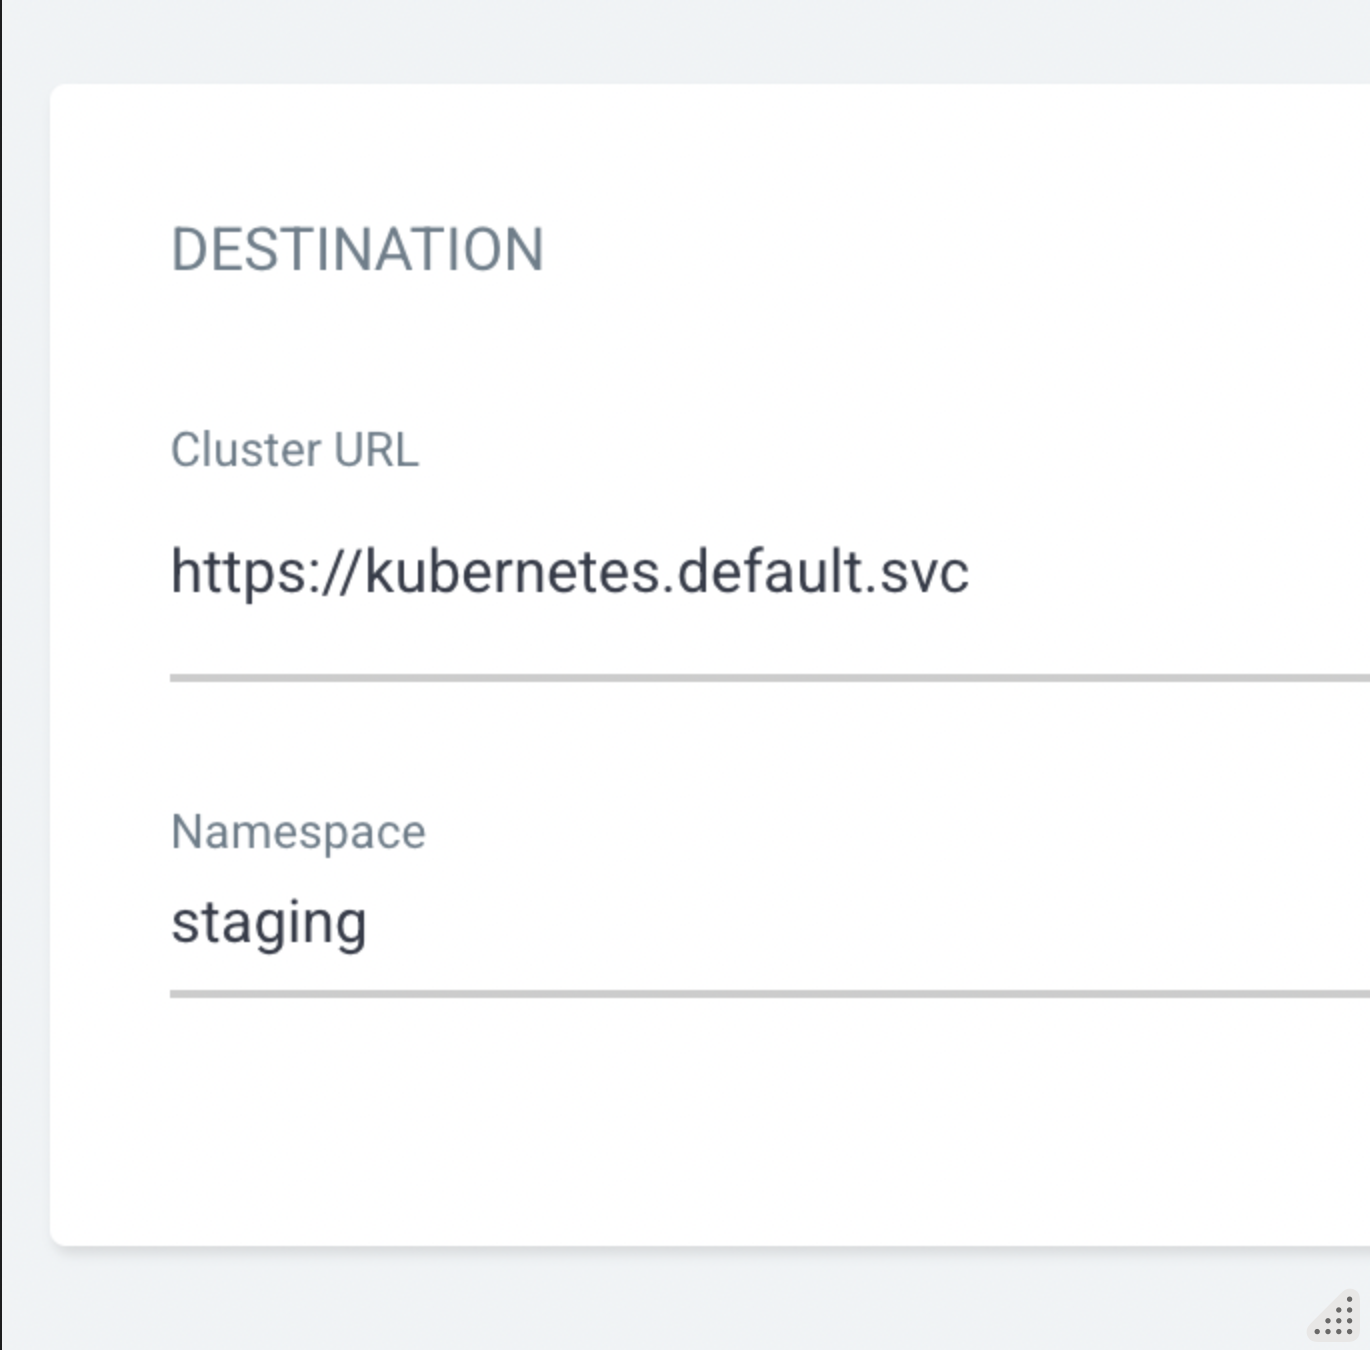
From Destination,
- Cluster URL : https://kubernetes.default.svc (default)
- Namespace :
staging
Click on CREATE button on the top
validate with
kubectl get all -n staging
Set up Deploy to Prod Configuration
You will deploy to prod based on a specific git branch e.g. release. Create a release branch to deploy the application to prod with,
cd argo-labs/
git pull origin main
git checkout -b release
git push origin release
You will see a new branch created on GitHub for this repository. Alternately, you could also create the branch from GitHub Web UI.
Create another application, repeat the same configurations with the following changes,
- Application Name:
vote-prod - Project Name:
instavote - Sync Policy:
Automatic - Prune Resources: Checked
- Repository: Same Repo
- Revision:
release(Branches) - Path:
prod - Cluster URL: default from dropdown.
- Namespace :
prod
Create and Sync manually.
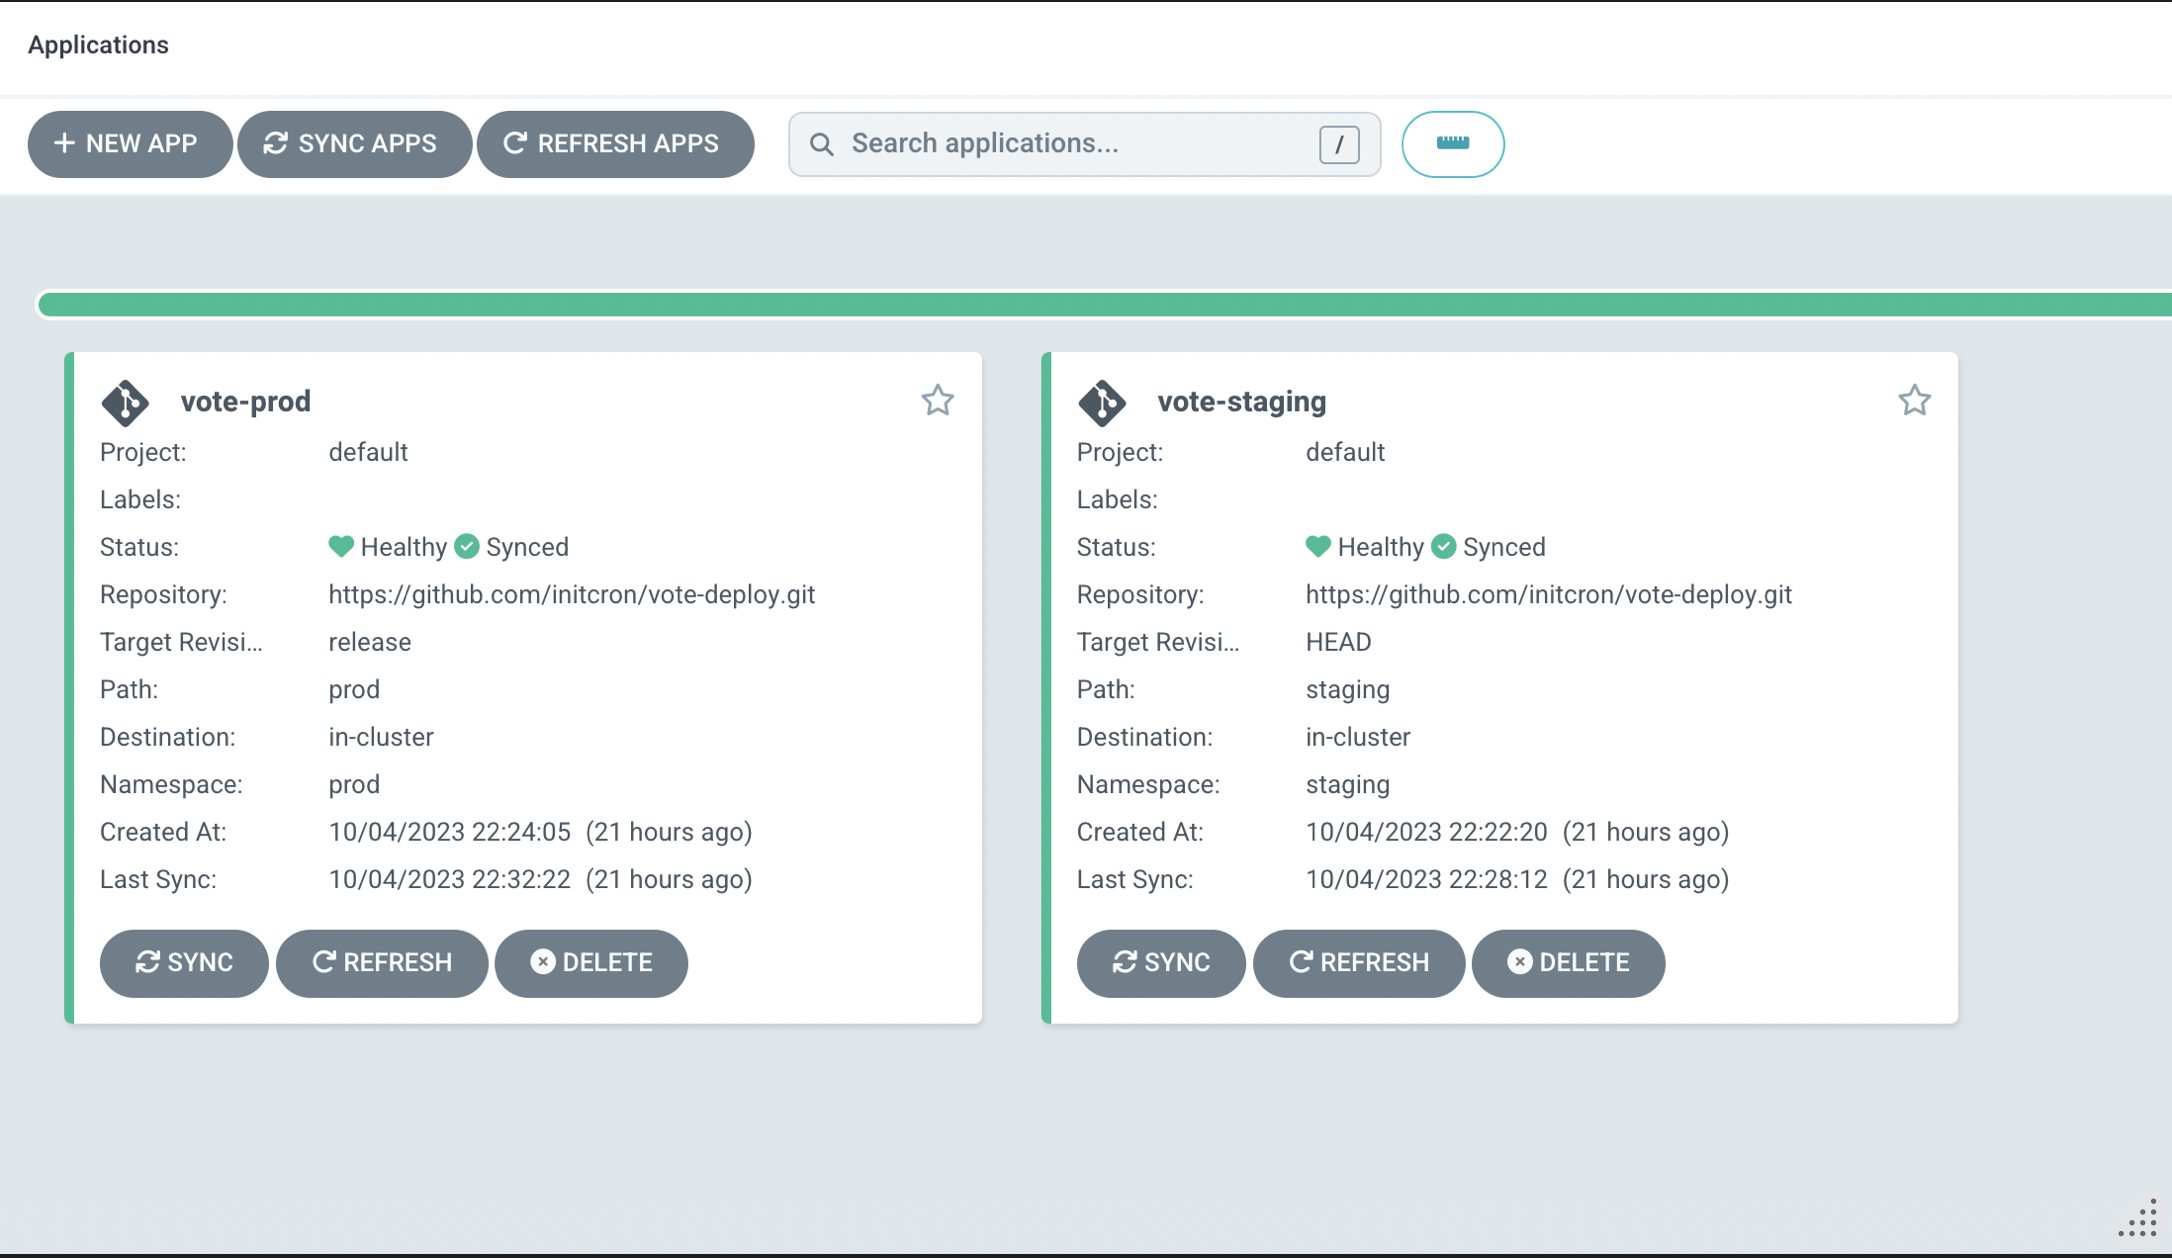
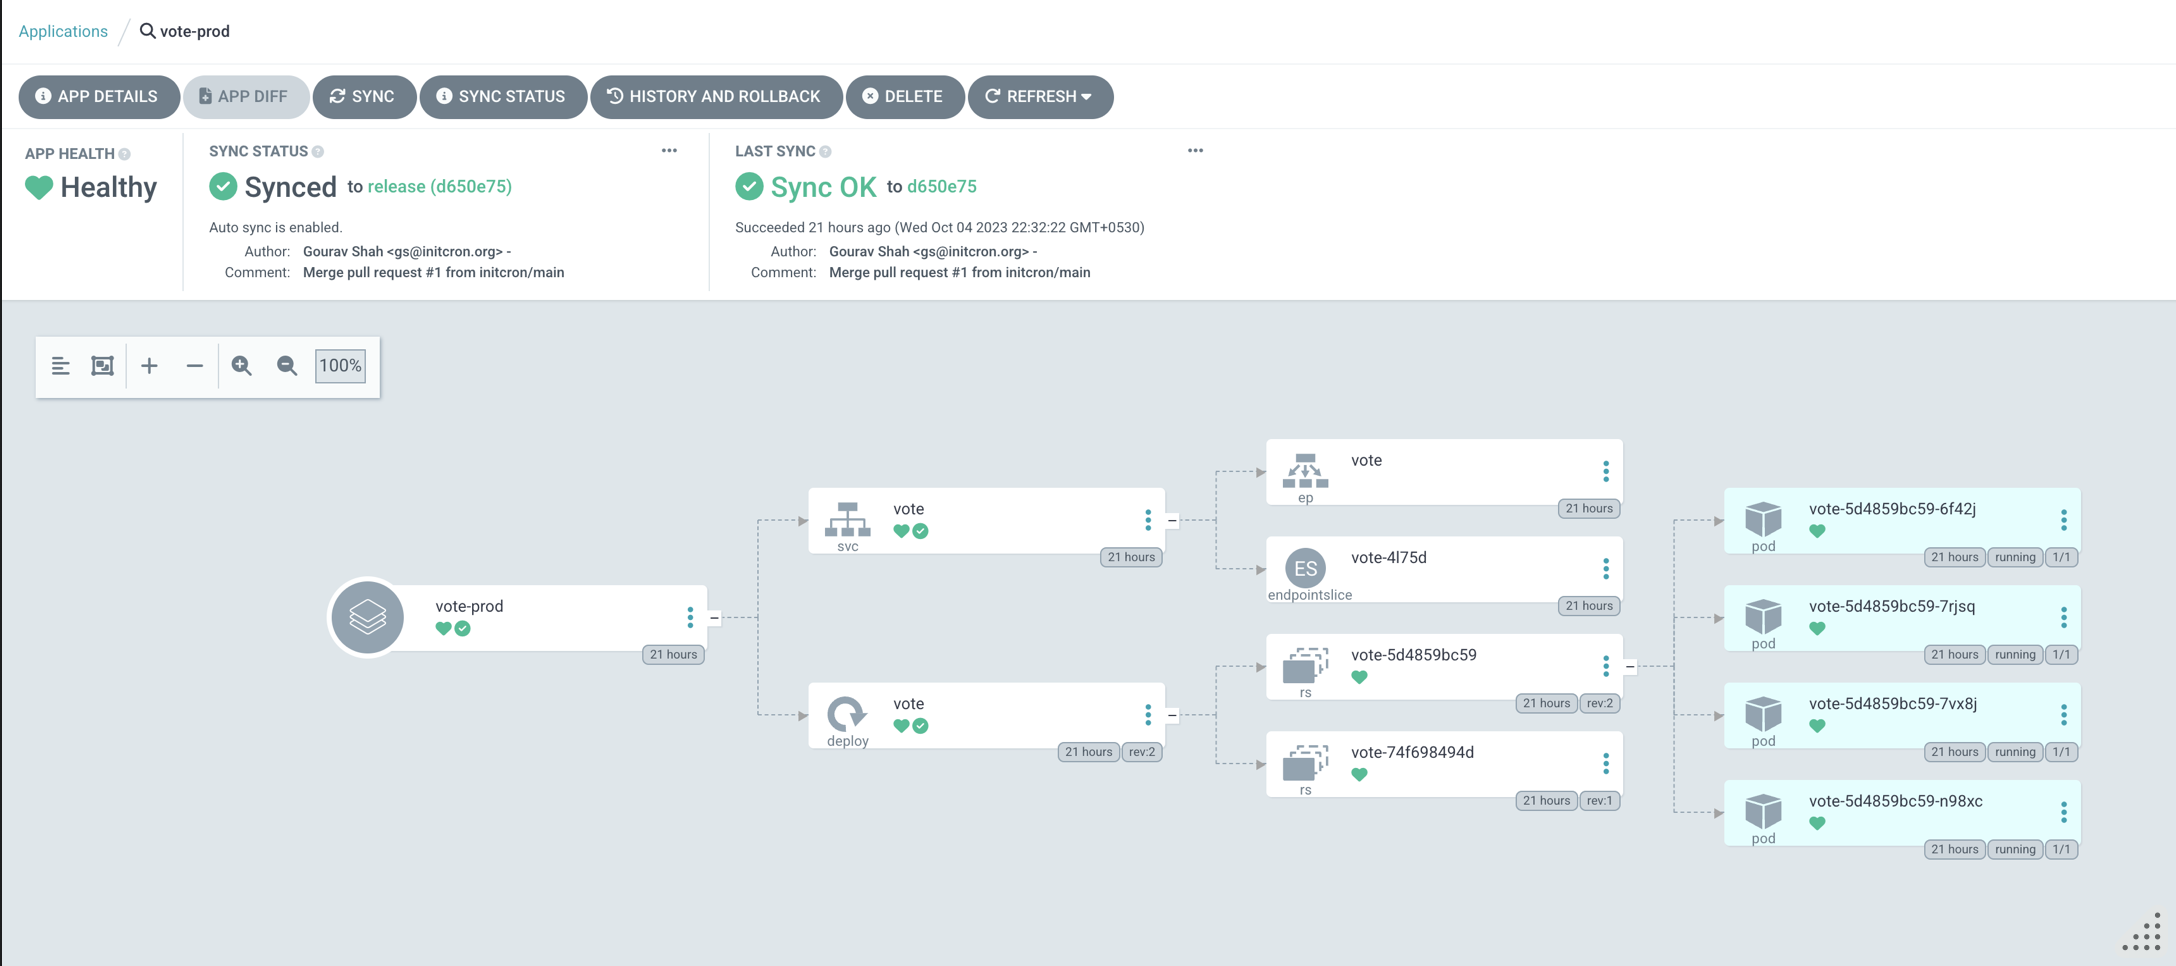
Once synced, you should see two applications configured on ArgoCD tracking two environments.
You could also check the applications using kubectl as
kubectl get applications -n argocd
kubectl describe  application vote-prod  -n argocd
Deployments in Action
Open two terminals and start watching for changes in the staging namespace
Terminal 1
watch kubectl get ro,all -n staging
Terminal 2
watch kubectl get ro,all -n prod
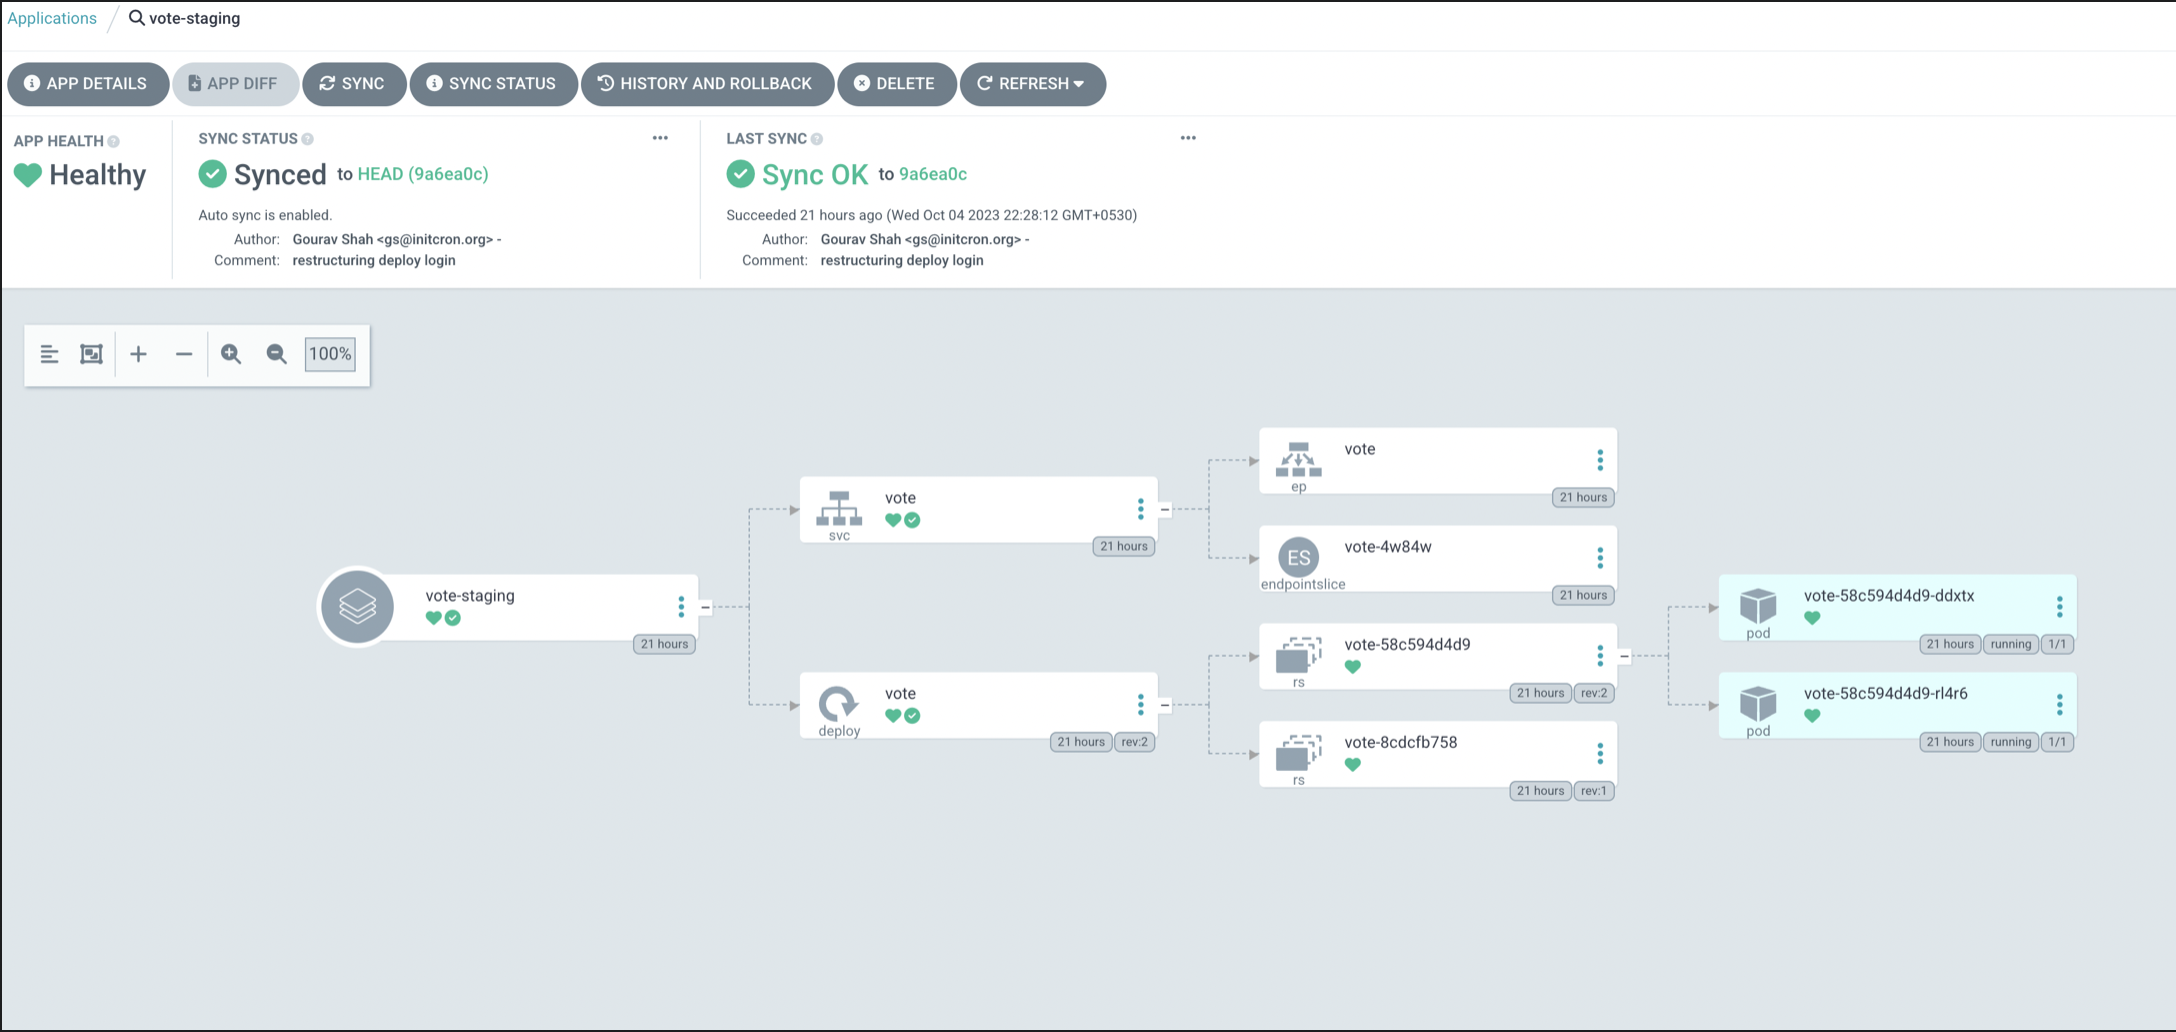
Watch for the changes in the console as well as on Argo. You shall see the application synced from the Git Repo to the Kubernetes Cluster in a few seconds.
Staging
Prod
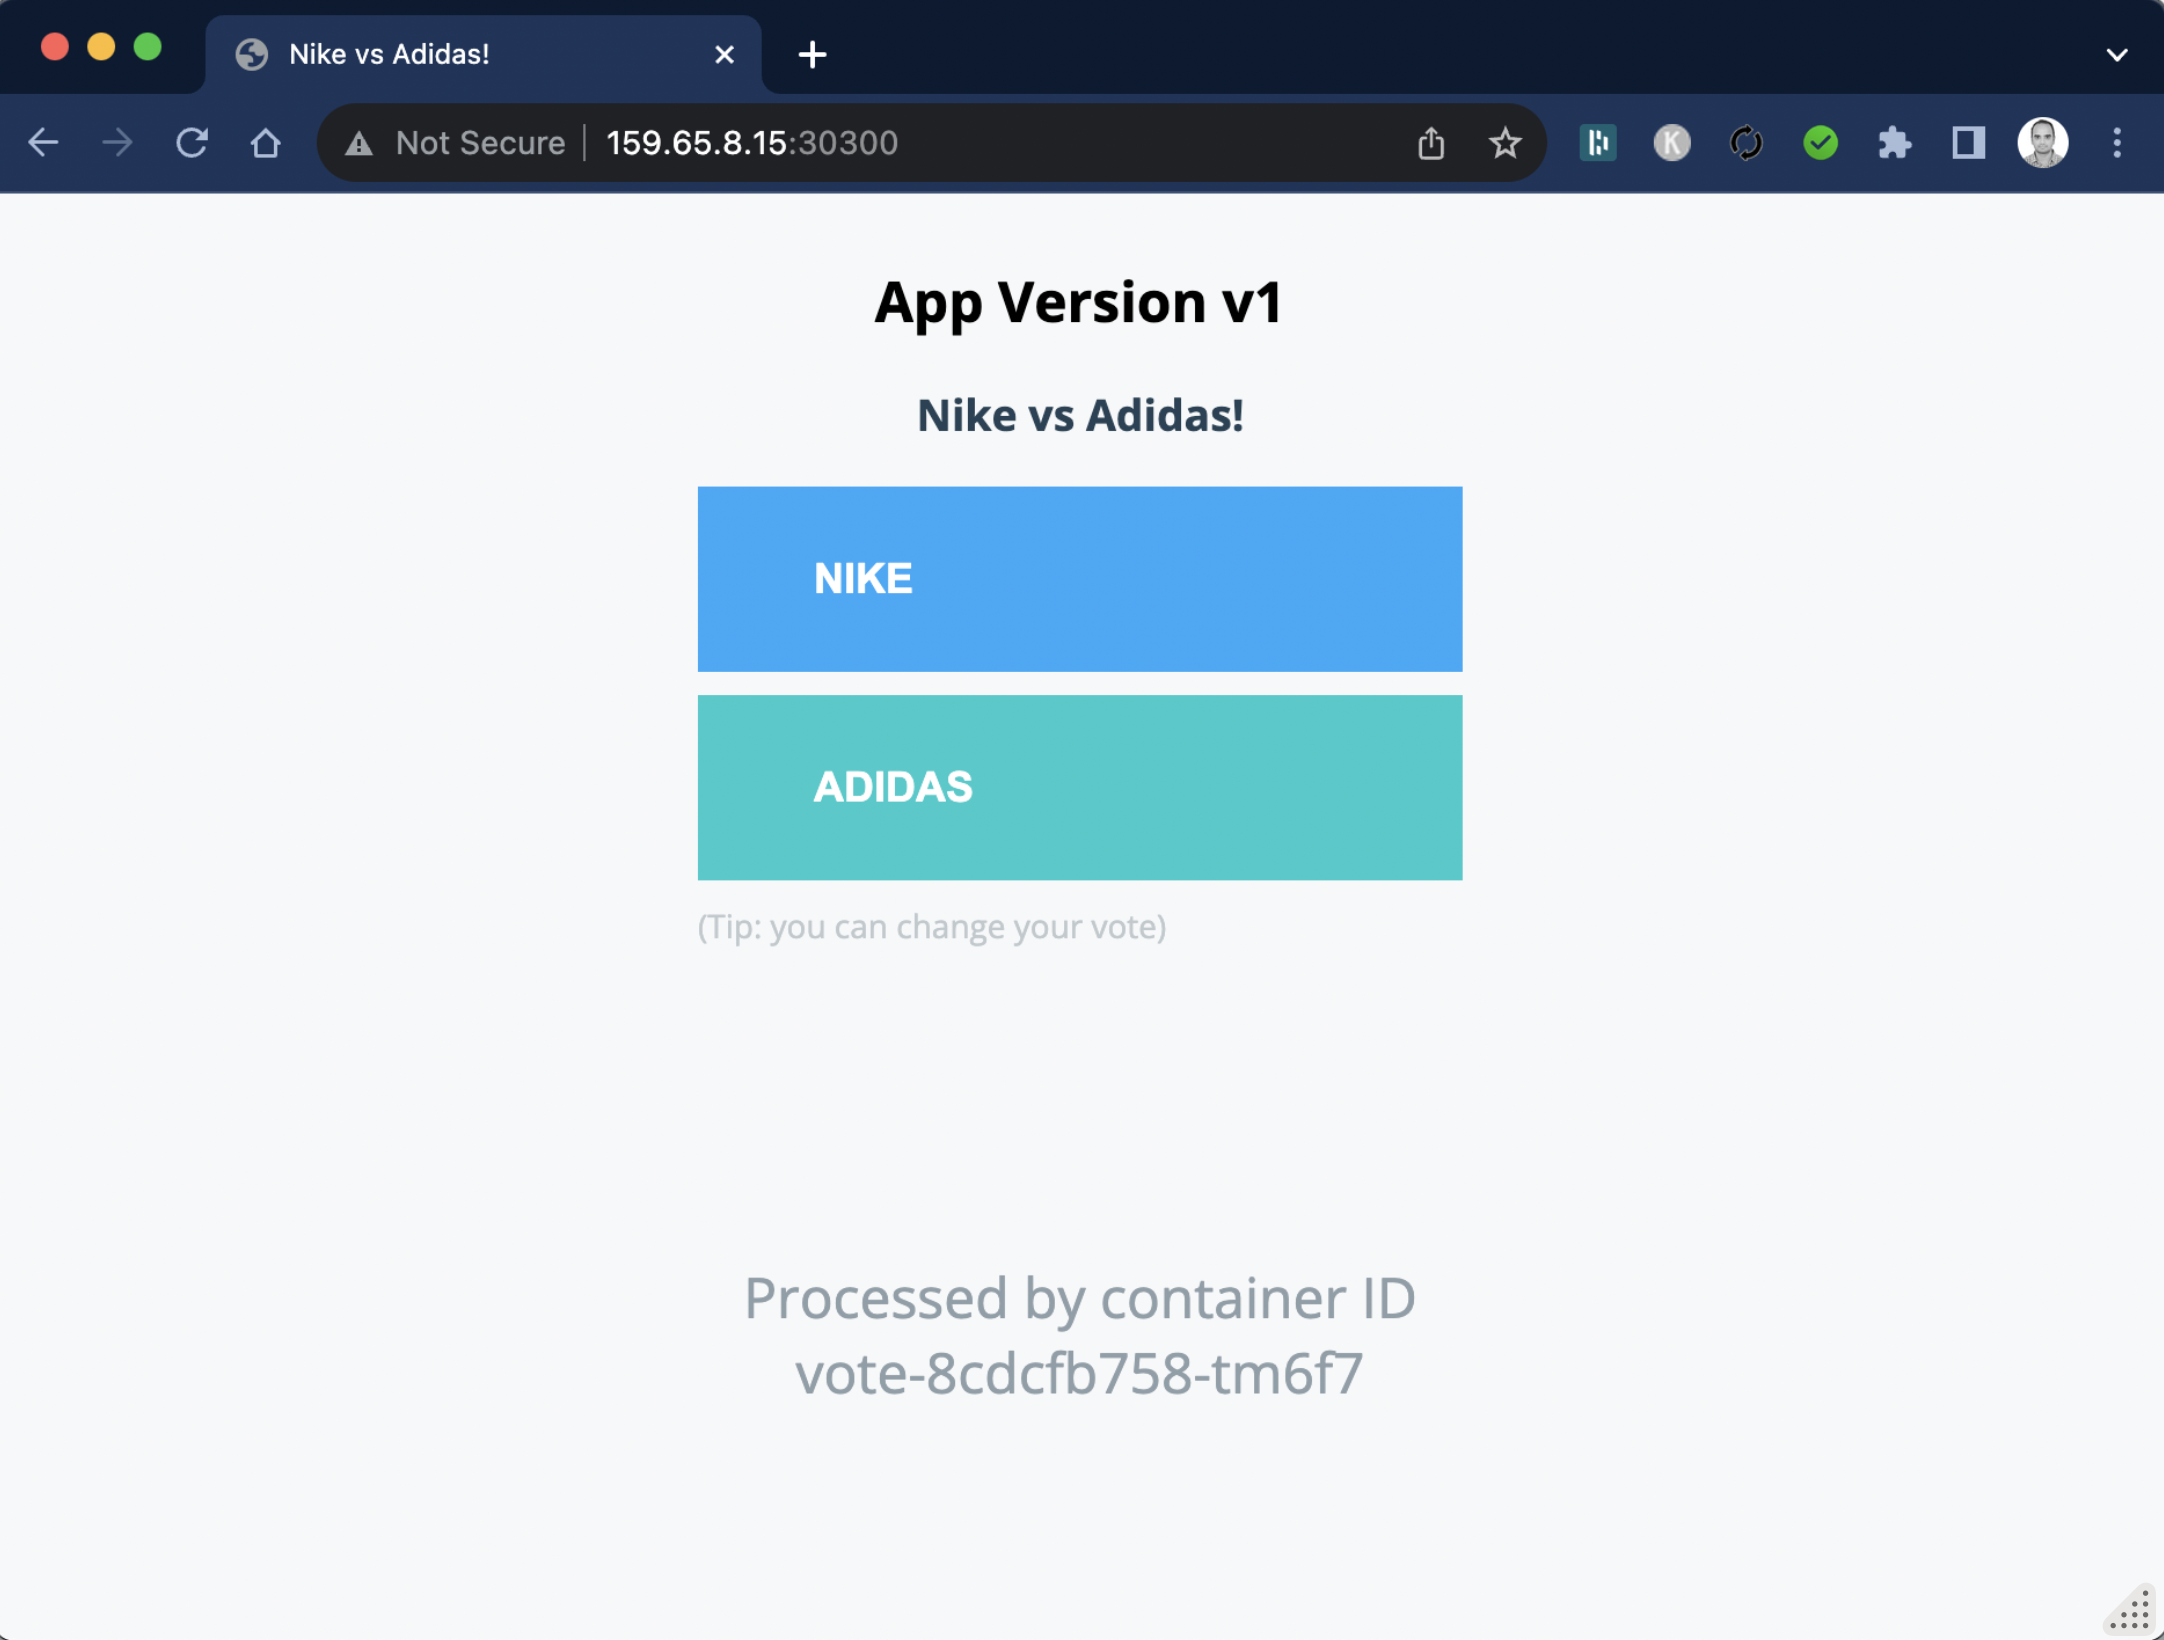
Validate by accessing the vote apps on
- Staging : http://NODEIP:30000
- Prod : http://NODEIP:30200
where, replace NODEIP with actual IP or Hostname of your cluster node.
e.g.
Exercises
- Set up branch protection rule to lock down
releasebranch and allow changes via pull requests. You can experiment by adding additional policies as well. - Try modifying YAML manifests in Deploy Repo in Git in main branch by changing the image tag in
staging/kustomization.yamland wait for the staging deployment. Then raise the pull request to merge it into release and see it deployed to prod.
References
- Getting Started with Argo Getting Started - Argo CD - Declarative GitOps CD for Kubernetes
- Reset admin password argo-cd/faq.md at master · argoproj/argo-cd · GitHub